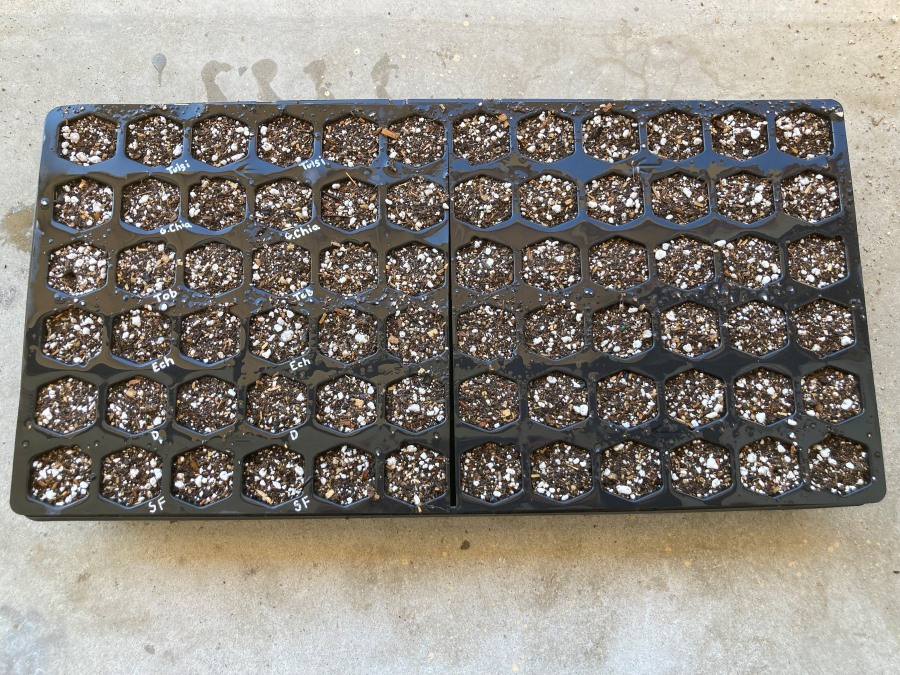
As with anything in life, things take time, and gardening is not exception. So anything that can be done in the garden to save time is a welcome treat. I find planting seeds relaxing, but if I plant faster I can get more into the garden, and its still relaxing. So lets go over planting in trays. How can seeds be planted in trays faster? Lets take a look.
What you will need:
- Potting soil, preferably a lite mix.
- Seed Tray, Cell tray or mini pots
- Soil sifter (optional)
- Flat board or straight edge of some kind,12” (30 cm) is fine.
It should be noted that this method is for smaller seeds like tomatoes, onions, radish, etc. It isn’t recommended for larger seeds like squash, sunflowers, or anything with large seeds. They just wont be planted deep enough.
Step 1: Use good, loose potting soil.
For this quick method of planting seeds in trays, the soil or medium that is used is important. It isn’t that the seeds won’t grow if you use a soil/medium that isn’t perfect. They would still grow but this fast technique may not work as well. You will see as you keep reading why this is.
Just for clarity, some people will use a soil mix and some will use a soilless mixture containing something like peat moss or coconut coir. For the remainder of this article, soil, and soilless medium will simply be referred to as soil. This will simplify the reading and writing somewhat.
The soil that is desired needs to be well sifted to remove any sticks or large chunks from the mix. Looking for a seed starting mix is probably the easiest way to get this sifted soil because the sifting has already been done during production, saving you time, which is what this method is about. Another way to achieve or acquire well sifted soil is to sift whatever soil you have available, or making your own soil from scratch and sifting it in the process.
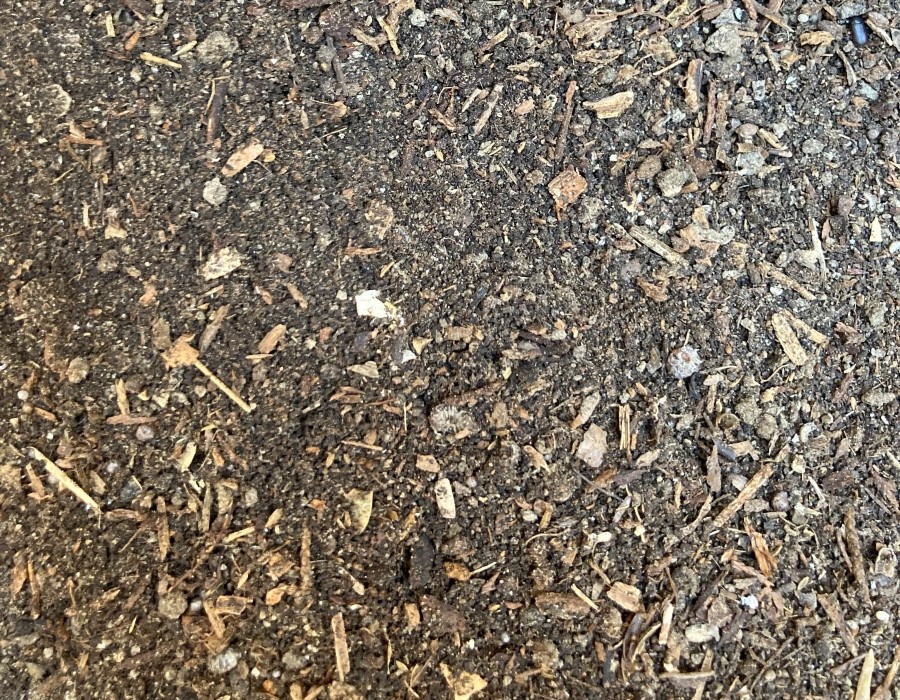
Removing any large chunks or sticks that are in the soil not only allows seeds to emerge easier but is necessary for step 3 as you will see later. These large chunks may actually hold small seedlings under the soil if the seeds are small, or the chunks are large enough. They can also cause the soil to fall apart when seedlings are transplanted. This happens when a larger piece of wood for example is in the soil and it acts as a divider in the soil. So the soil on one side cannot adhere to the soil on the other side and when the soil plug and seedling is removed, the soil will split and can fall apart. This may cause damage or death to the seedling if it is damaged because of this.
So long story short, well sifted soil is important and the fastest way to obtain sifted soil is to purchase a quality seed starting mix. Which will save time, and that is what this article is about.
Soil Moisture
It is important to have the soil damp but not soaking wet. Most potting soils will come a little damp which is usually perfect. If it is dry, the soil may have been sitting for quite some time and may need to be wetted and mixed before moving on.
If the soil can be squeezed in a fist and water drips out it is to wet. No water should drip out, it should only feel damp, and when squeezed in your hand it should form a mass that will hold together but will also easily break apart.
Step 2: Seed trays or mini pots.
When starting seeds using seed cell trays can be a better option than using mini pots or larger pots. Cell trays allow you to start your seeds in a much smaller area which is good if you are using a heating mat, lighting, or just have a small space to start seeds. Make sure that you get a cell tray that also comes with the tray that the cell tray fits into, it ads support to the cell tray which can be flimsy. Or you can buy one separate if you prefer.
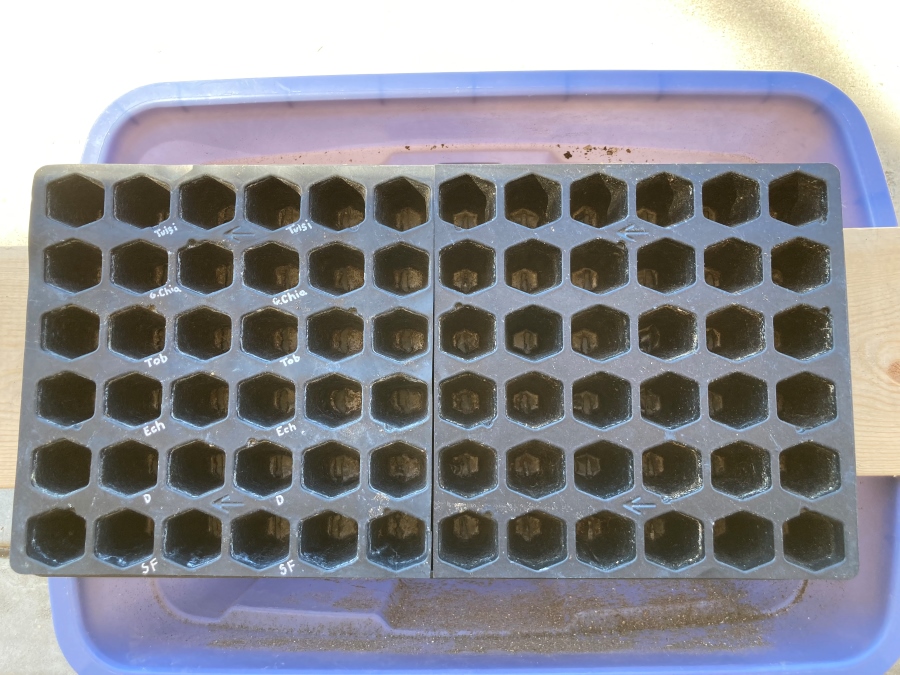
The biggest advantage of seed cell trays with this method is that all cells are connected and won’t move in relation to the others. You will see why in step 3. Mini pots can also be used if they are sitting in a tray made to hold them in place with little movement.
Step 3: Fill scrape and tap.
Now that you have your soil and your cell trays, it’s time to fill them so we can plant seeds. Scoop out some of the soil you will be using for your seed starting and pour it onto the cell tray. Depending on how big your scoop is you may need to do this a few times. Pouring it in as many as you can to get maximum coverage of the tray.
Pouring the soil over the whole tray can also work, you just need to be carful not do pour to much at once. This can pile the soil to high, or to fast, or both and compact it. Why you don’t want compact the soil will make sense soon. Basically, don’t dump it on and you should be fine.
For this part it is helpful to have a small board to rest the cell tray on, and a bin but isn’t necessary. The board can be placed over a bin, and the cell tray can be put on the board. Then all the excess soil will fall into the bin and can be easily collect when you are done.
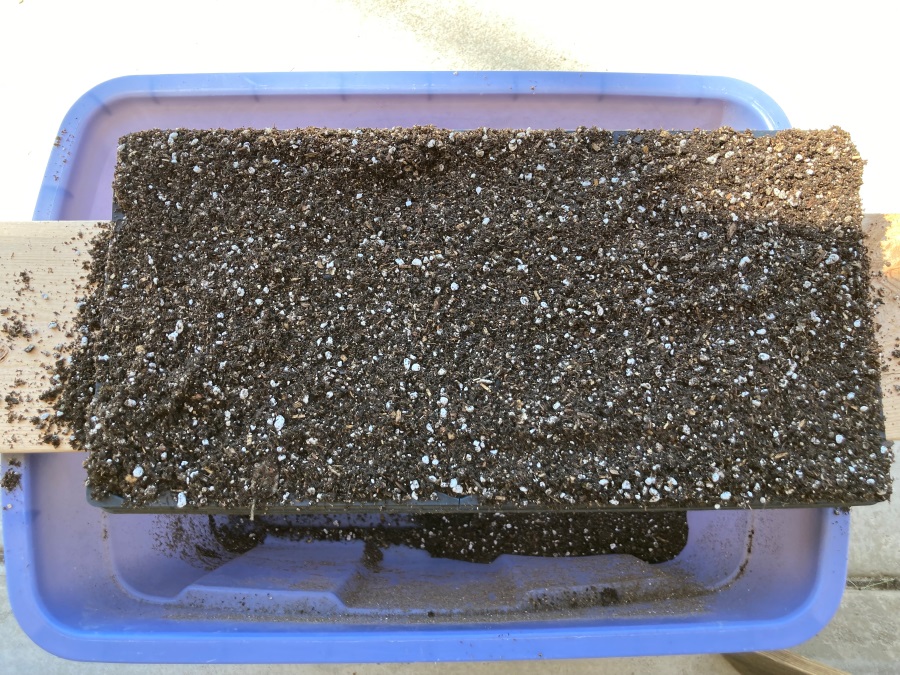
Now that you have soil is on the cell tray, take your board and push the soil from one side to the other scraping the top of the cell tray with the board. This will push the soil and allow it to fall into all or most of the cells if they are not filled already, and scrape the excess soil off the top of each cell. Make sure to scrape horizontally (sideways/forward and back) and do not push the soil down into the trays. Using a sawing motion sometimes helps.
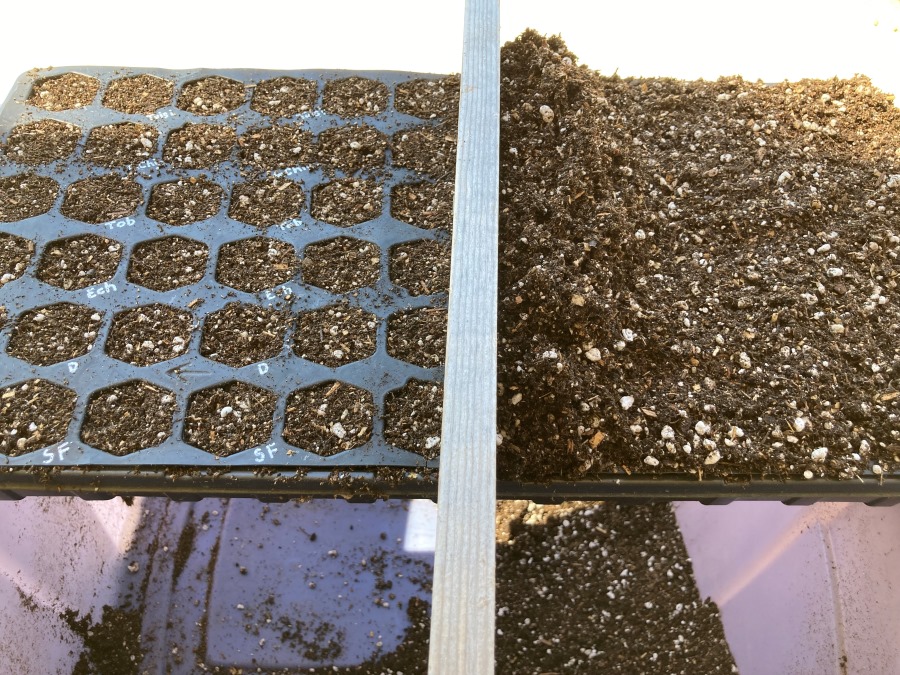
If all the cells are not filled just pour some more soil on top and scrap again. This time pour the soul in the areas that are lacking soil.
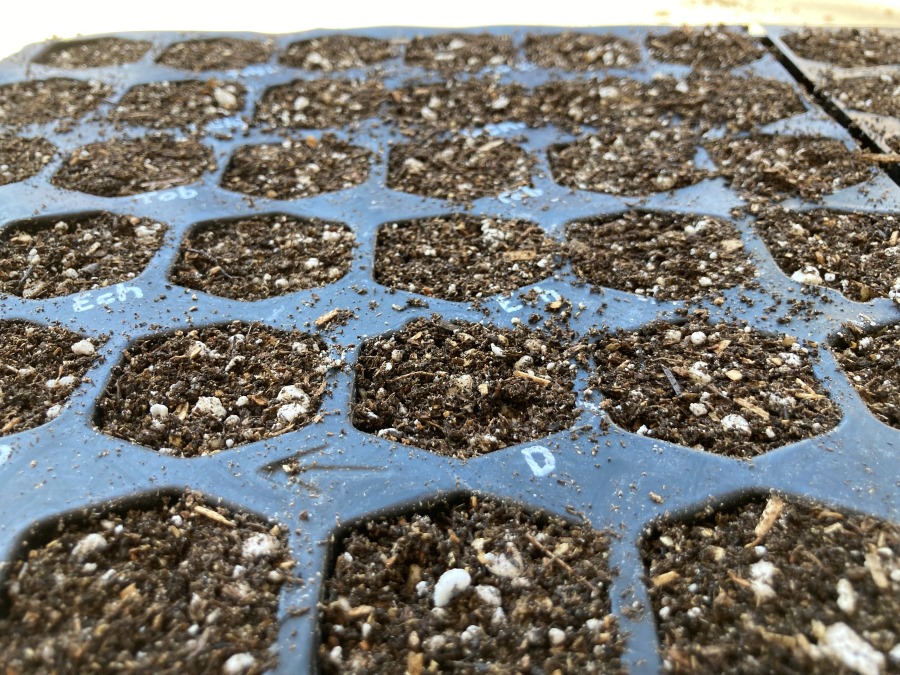
The Tap
When all the cells have been filled and are scraped flat its time for the tap. Take the filled cell tray which is preferably in the bottom tray, pick it up, hold it 2-4 inches (5-10 cm) above flat ground are a firm and sturdy surface, and drop the cell tray. This will cause the soil to compact a little bit in each cell tray, but in a mostly uniform way.
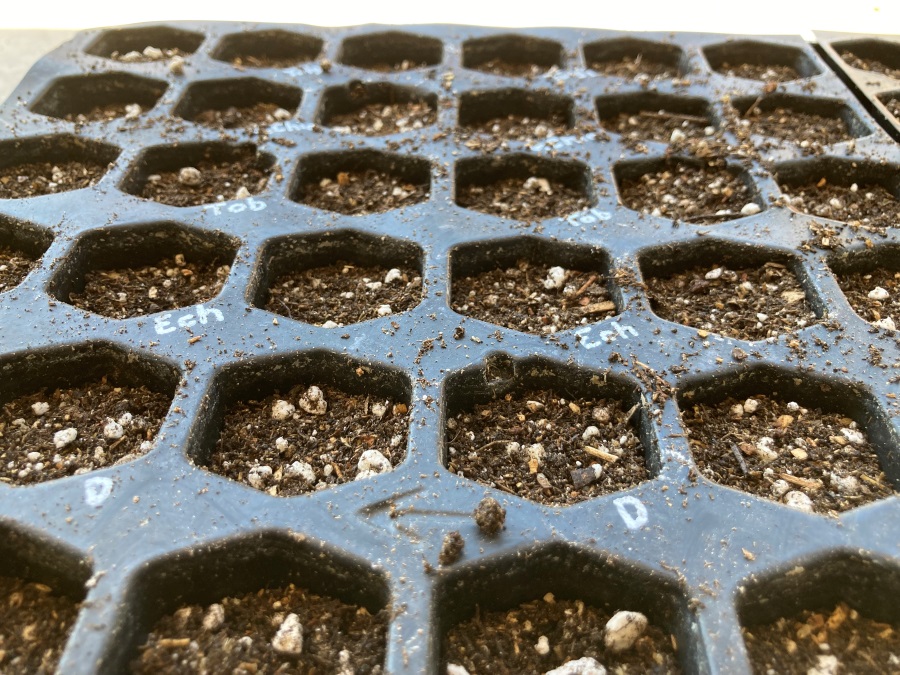
This is where sifted soil with the proper moisture really comes in to play. If you have large chunks of soil it may not compact at all because a stick or large chunk may act like a brace holding the soil in place. Also if the soil is to wet it may be heavy enough to compact itself before you can tap the cell tray, and there will be no soil level drop, or very little.
Step 4: Plant seeds, fill the top, scrape, and water.
Now that the soil is in place in the seed tray, the soil level has been lowered by tapping the cell tray, you can plant your seeds. Take your selected seeds place them in each of the cells in the cell tray.
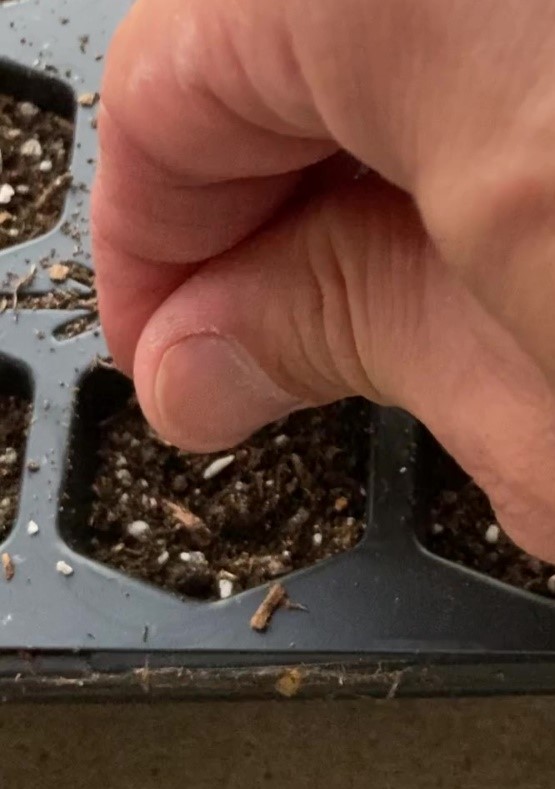
Now that the seed have been placed in the tray, you will put more soil on top of all the seeds in the tray and scrape it with the board like you did earlier. Just take some soil, pour it on the cell tray as you did earlier, and then push the soil with the board, scrapping the top flat just like before.
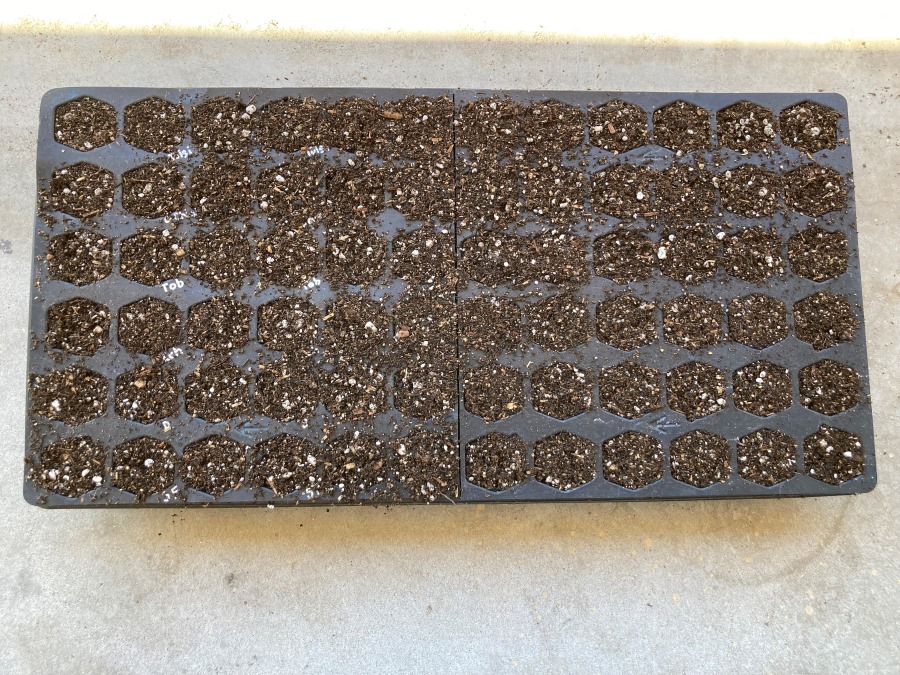
At this point you can tap it again but it can lead to bounce back because the soil in the bottom portion of each cell has been compacted already so some of that energy from a tap will just come back upward instead of compacting downward. So a light tap or a gentle pat with your hand is fine, or you can just leave it.
Water it in with top or bottom watering and you are done.
Quick Recap:
- Use sifted/loose soil that is moist but not soaking
- Preferably use cell trays with bottom tray
- Fill, scrape and tap cell trays.
- Plant seeds in each cell.
- Top off cell tray with soil, scrape flat, and water.
