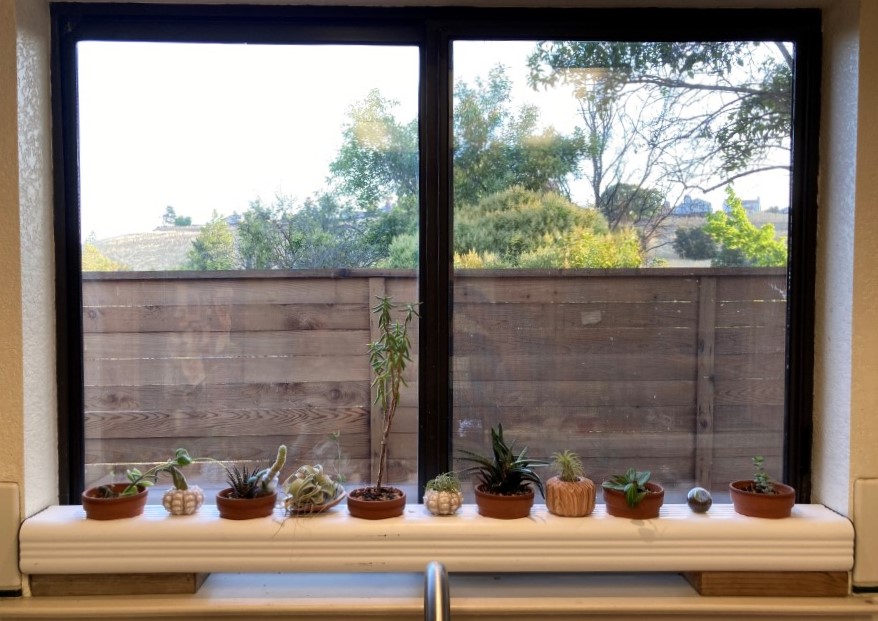
Do you want to grow a thriving windowsill garden but have trouble getting the watering just right? Or maybe moving all the pots when you need to clean the window is a hassle. Wicking planters are a self-watering solution that may be able to help you grow beautiful plants indoors with minimal effort. Allowing you to water all the plants at once, or move all the plants at once if needed.
In this article, we’ll show you how to build your own wicking planter using a vinyl downspout that can be purchased at most hardware stores. Let’s get started
Materials you will need:
Vinyl downspout (cut to size according to window sill width)
Pots with a diameter smaller than the width of the downspout, that also have small hole in the bottom
Hole saw
Synthetic rope or string with a width just smaller than the hole in the bottom of the pots
Styrofoam or other material for making ends
Silicon caulking
Soil mix (roughly 60% coconut coir or peat moss and 40% perlite)
Tools you will need:
Tape measure
Pen
Saw for cutting the downspout to size
Drill with hole saw attachment
Scissors for cutting the rope or string
Cutting tool for cutting the Styrofoam or other material such as a utility knife.
Instructions:
1. Measure the width of your windowsill.
The first thing that should be done is to Measure and cut downspout. The width of your windowsill will determine the width of your wicking windowsill planter. Measure the width of your windowsill with a tape measure.
2. Cut the vinyl downspout to size.
Once you have measured the width of your windowsill mark a line on the downspout where you will need to cut the downspout. Make this mark about 1/4″ shorter than the windowsill that was measured, and if you want it shorter than that it is ok. This will allow for a little bit of space between the planter and the edge of your windowsill which allows movement, or can help fitment in a windowsill that isn’t perfectly square.
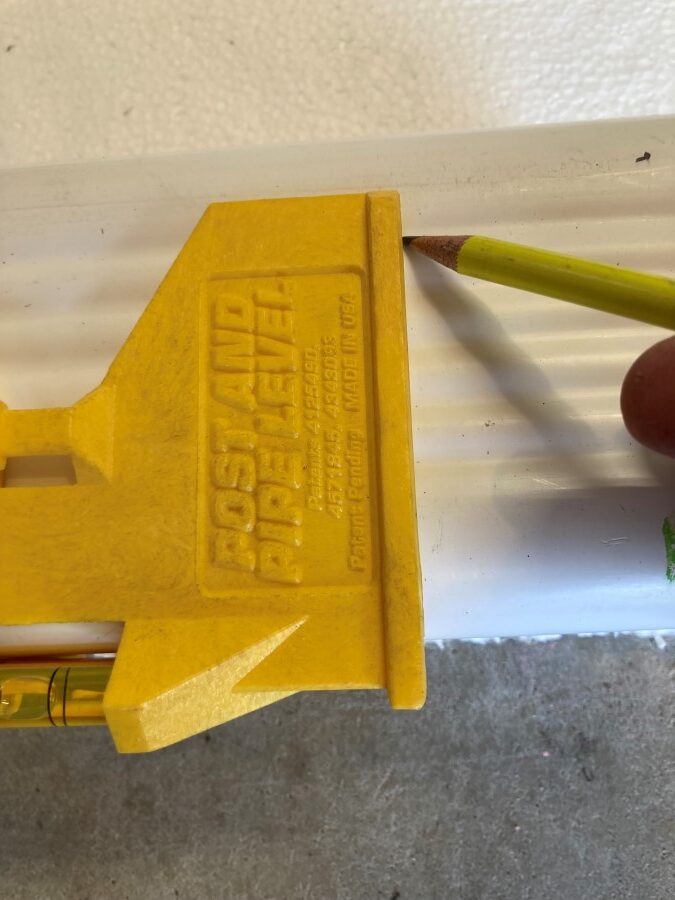
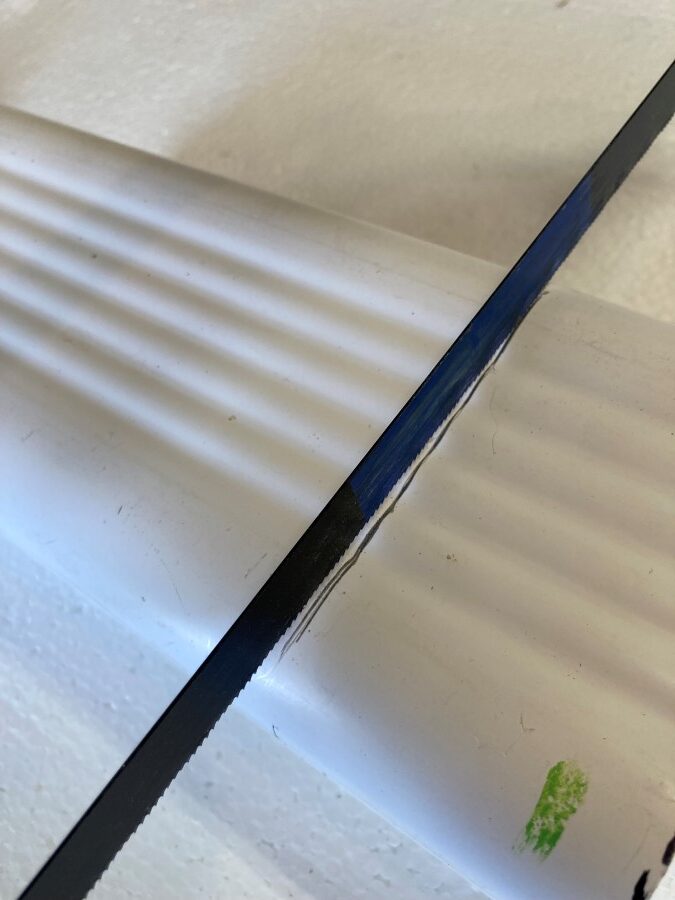
Then cut the vinyl downspout to size with a saw using the line as a guide.
3. Determine pot placement and spacing.
Once the downspout is cut to size, place the pots you will be using on the downspout. Space the pots evenly along the length of the downspout, or however you would like them spaced.
4. Mark the centerline for each pot.
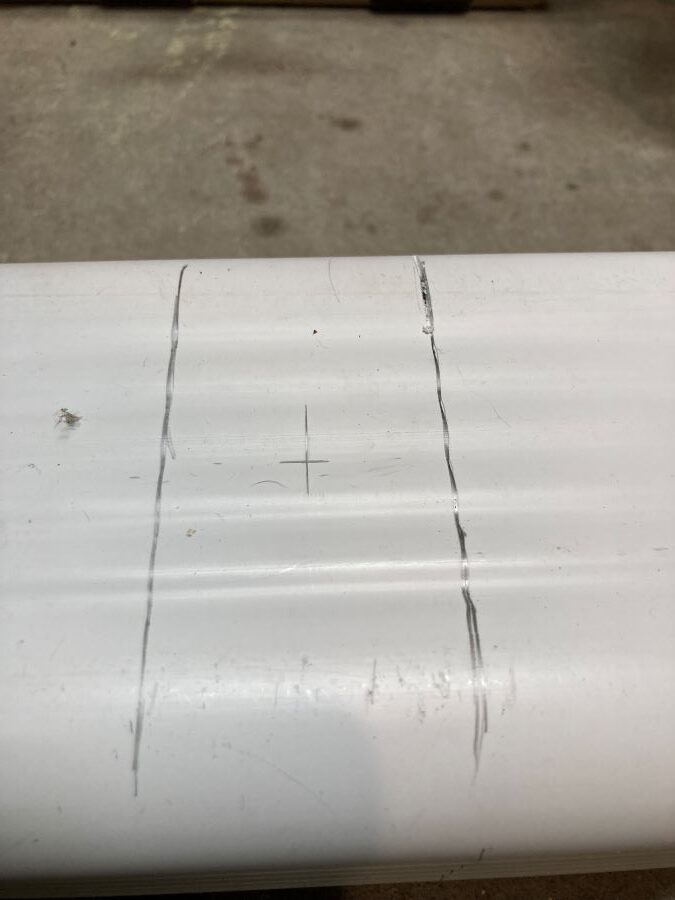
Mark 2 lines on the downspout where the base of each pot sits, and make the marks perpendicular to the length of the downspout. Make one line on each side of the pot, this will mark the width of the pot.
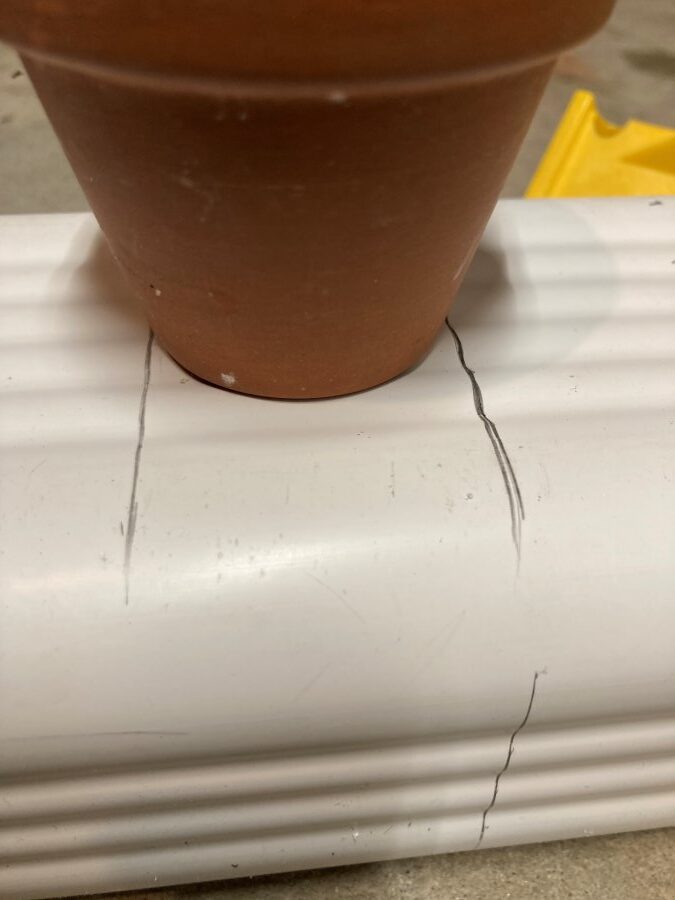
Make a parallel mark halfway between these 2 marks, which is the centerline of the pot.
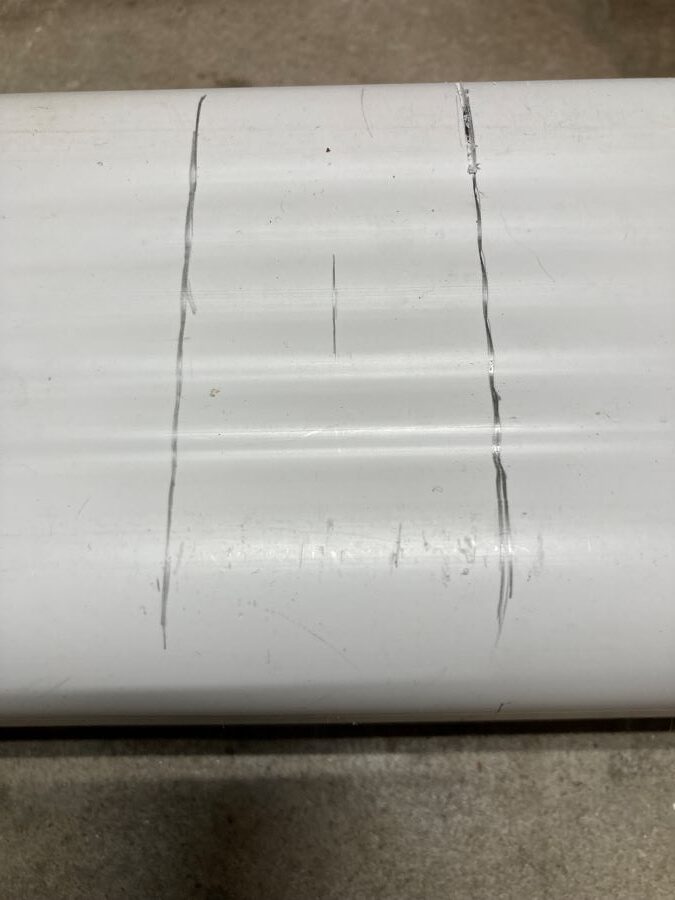
Make a perpendicular mark on the centerline mark, at half the width of the downspout. This will be the center point of the pot, and the place where you will need to drill. Make these marks for each pot you want to use in your downspout planter.
5. Drill holes for the pots.
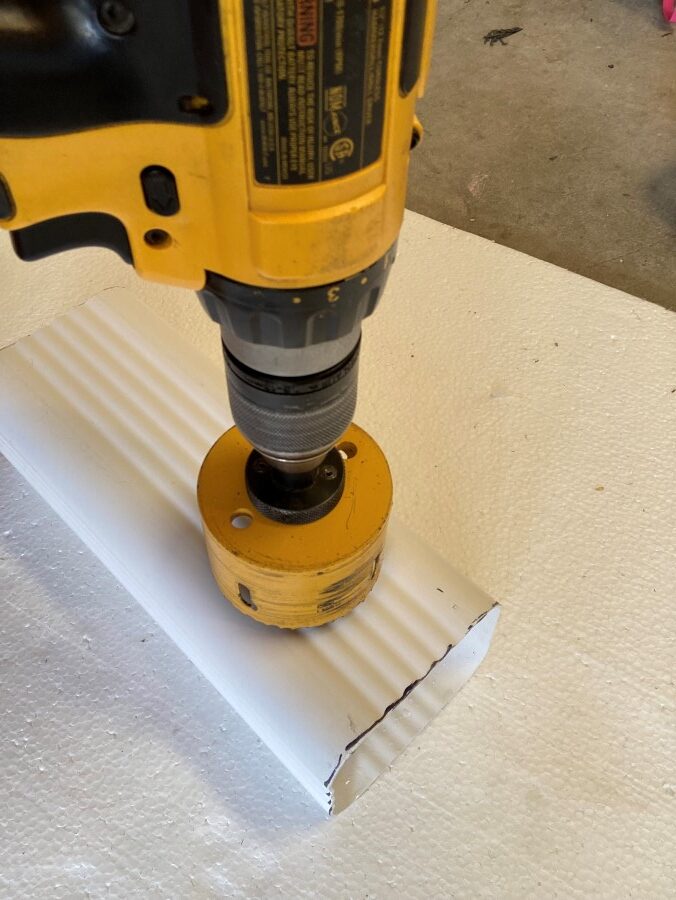
Once the center of each pot is marked, drill a hole at each mark with a hole saw. Make sure to use a hole saw that is slightly smaller than the width of the top of the pot, ¼ inch smaller should be fine. This will prevent the pots from falling through the holes in the downspout.
Drill the holes at each of the center marks that were made. It may be easier to drill a very small hole at each center mark before using the hole saw. Sometimes the drill bit in a larger hole saw can wander a little on a smooth surface like the downspout, causing the hole to be slightly off.
6. Make ends for the downspout planter.
Create ends for the downspout by cutting Styrofoam or other stiff but slightly compressible material to the shape of the downspout. Place the downspout end on the styrofoam and using a pen, trace an outline of the downspout on the material.
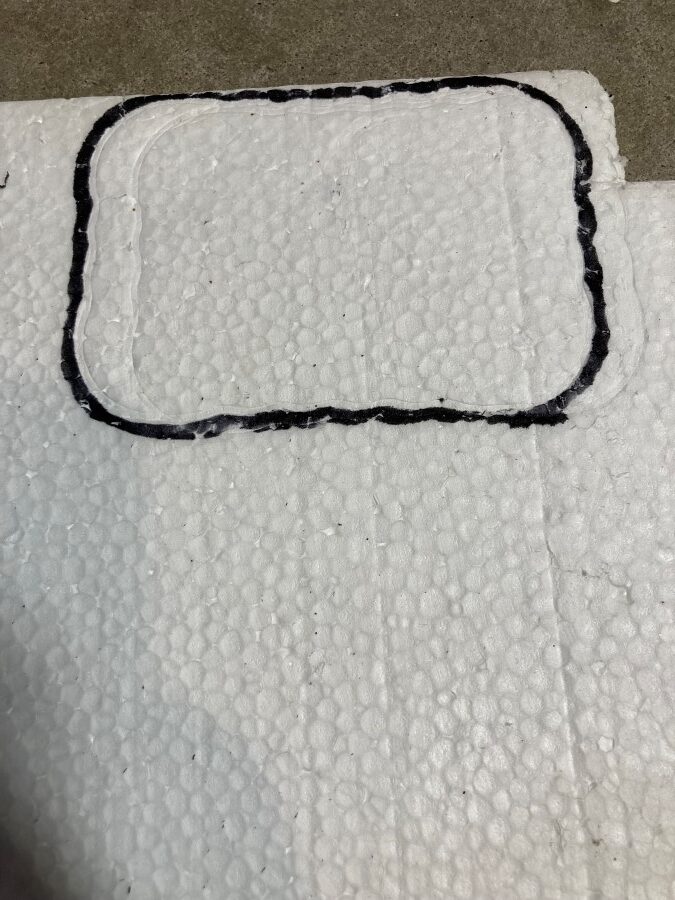
Cut out the material slightly inside the traced lines. This should make the piece of material a little smaller than the outside of the downspout.
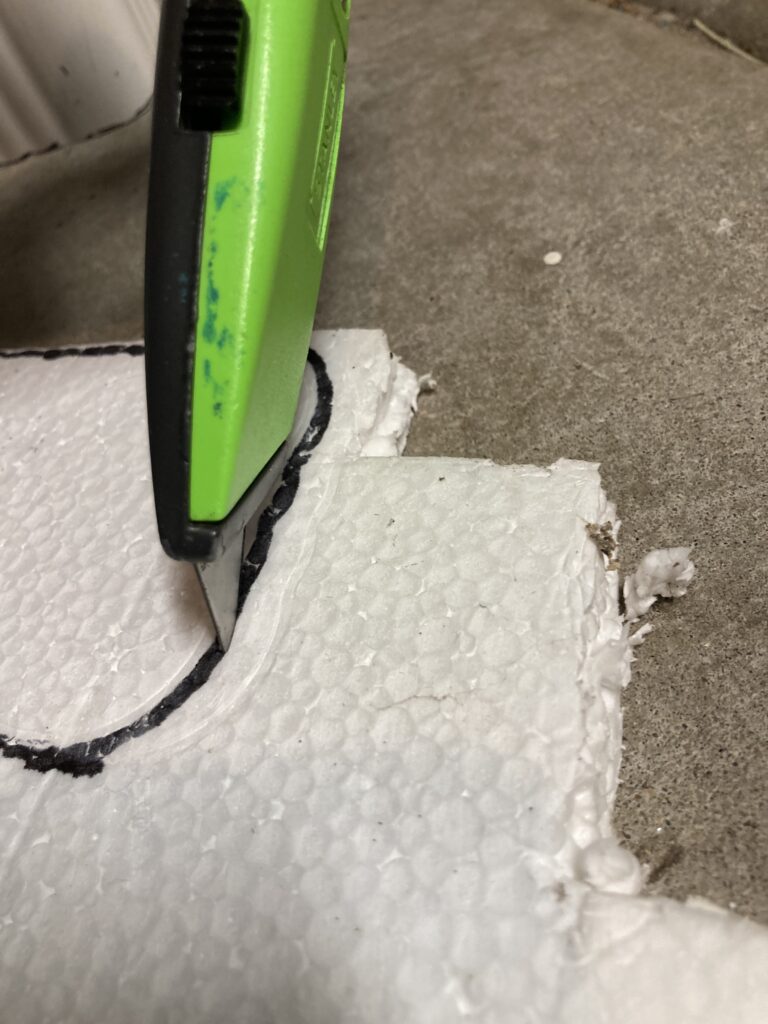
This should allow the material to be pressed into the end of the downspout and be snug. If it cannot be pressed in, cut a little more material off until it fits snuggly. It may be helpful to cut one side , such as the length, until the fit is right, and then work on the width until it fits. Repeat this step for both ends.
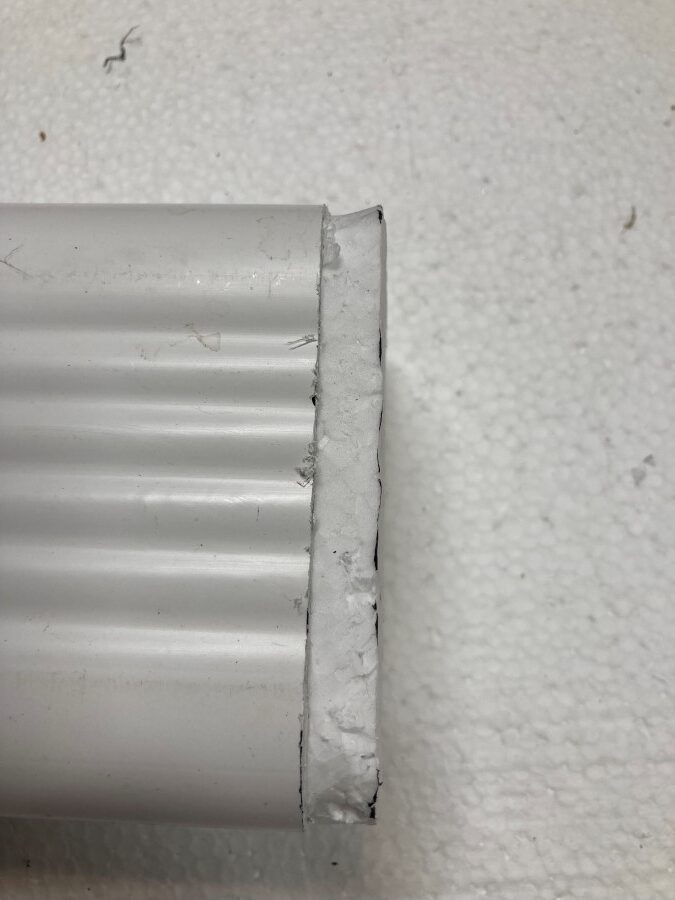
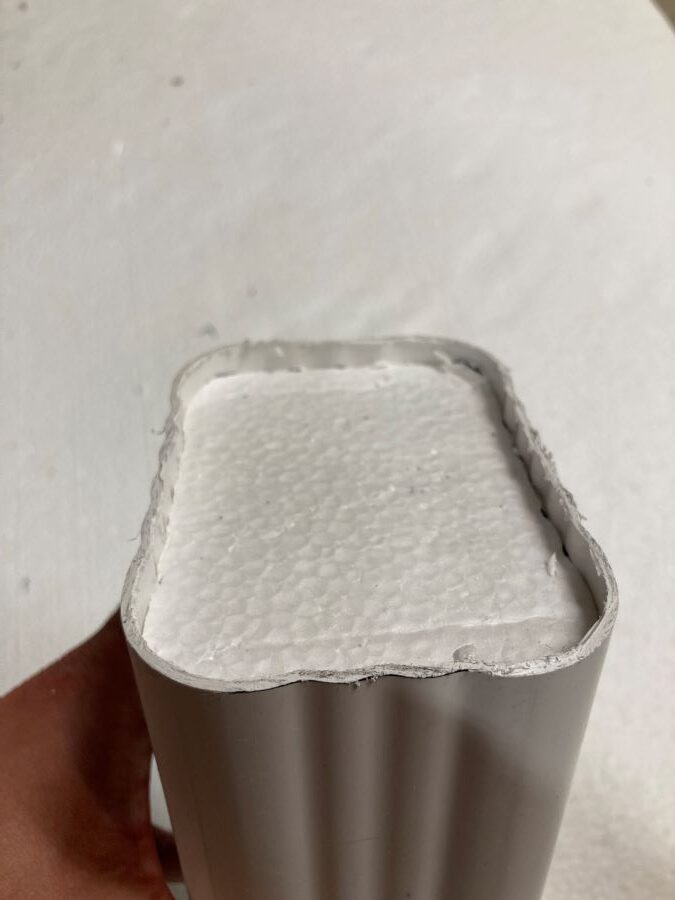
7. Press the foam into the ends of the downspout and seal it.
Once the foam has been cut, press the foam into the end of the downspout and ensure it is mostly flush with the end of the downspout. With your hands, gently push the foam in so that it is about one quarter of an inch from the end of the downspout. This will leave an empty space that can be filled with something waterproof like silicon to form a watertight seal that will become rigid or will bond with the styrofoam to form a rigid end.
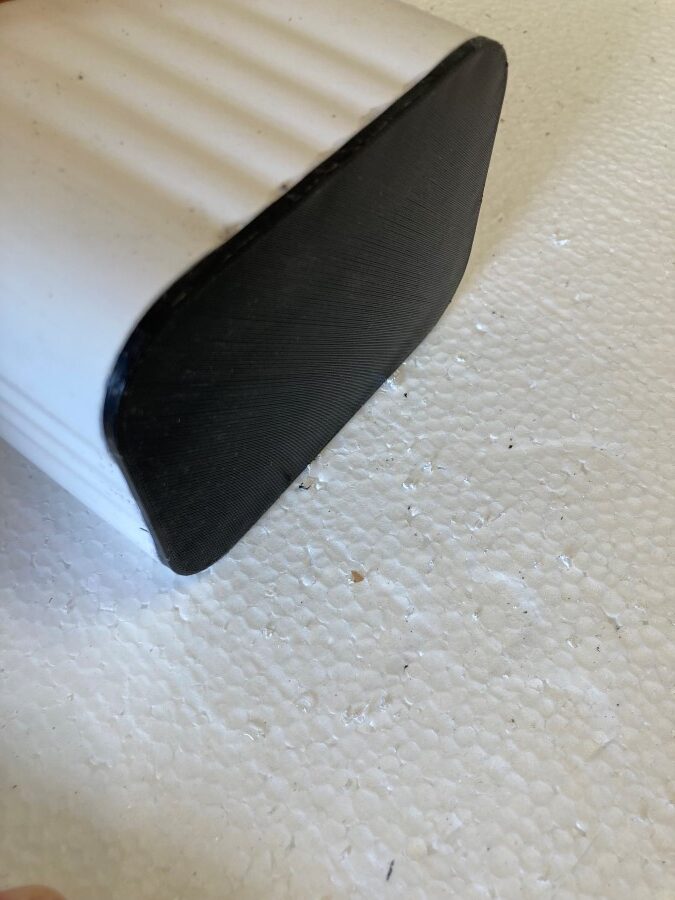
If a 3d printer is available, 3d printed ends can be used. These will most likely need to be sealed with silicon as most 3d prints will not be water tight. The portions of the printed ends and the downspout that come in contact will need to be sealed with silicon as well to prevent leaking at these points.
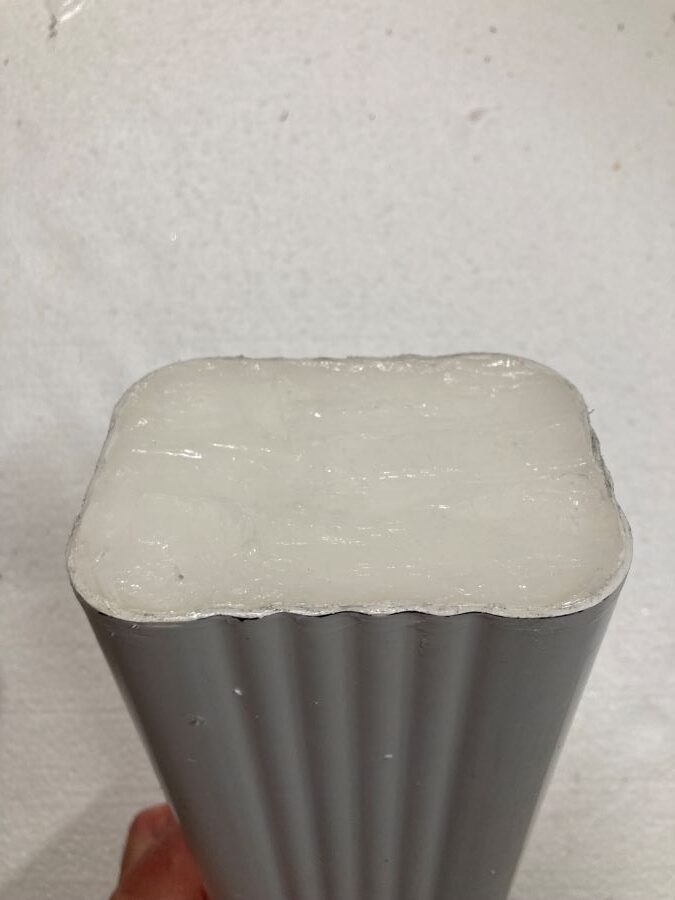
Place the downspout in a vertical position, preferably secured to something so it doesn’t fall over. Fill the end that is facing up with something like silicon or another fluid that is waterproof that will not dissolve the foam. Some things like epoxy may dissolve the foam. Smooth out the silicon or other waterproof material and press it into all the cracks, edges, and corners. You can do this with a wet finger ,but preferably a wet finger with a rubber/latex glove to keep the silicone off your skin.
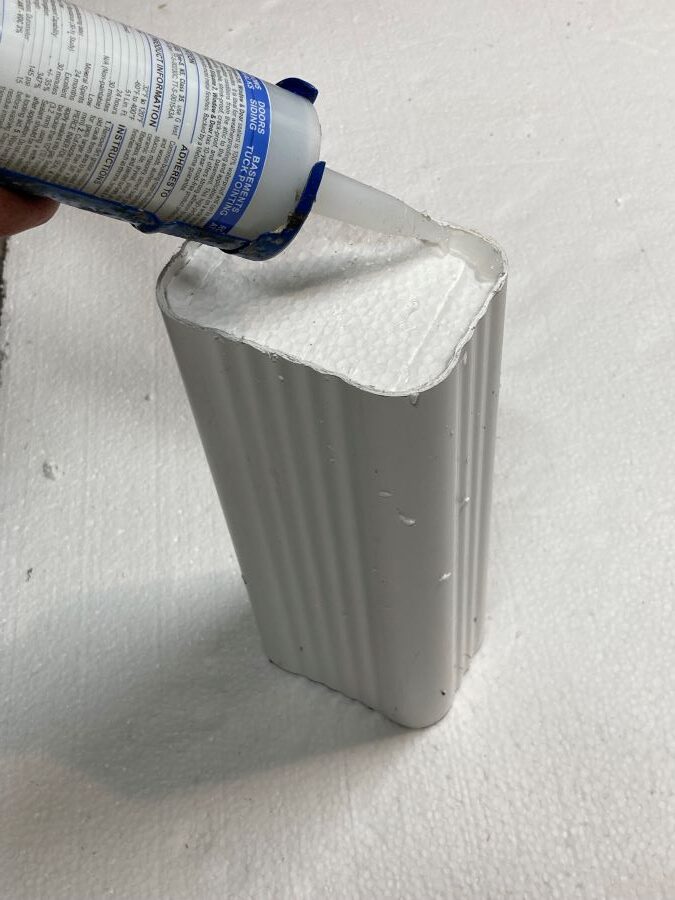
Let the silicon set overnight or however long the manufacturer recommends. Repeat the process with the other end.
After each end is fully solidified, take the planter and place it somewhere like a bathtub or outside and fill it with water. Wait and see if there are any leaks. If there are any leaks, the ends and downspout will need to be sealed with more silicon. Everything will need to be fully dried before more silicon is applied. After the silicon has fully solidified, test with water again. When the planter does not leak you can move on.
8. Making the wicks for the pots.
Take synthetic rope or string , and cut a piece for each pot that will be used. Make these lengths of rope about 4 to 6 inches long.
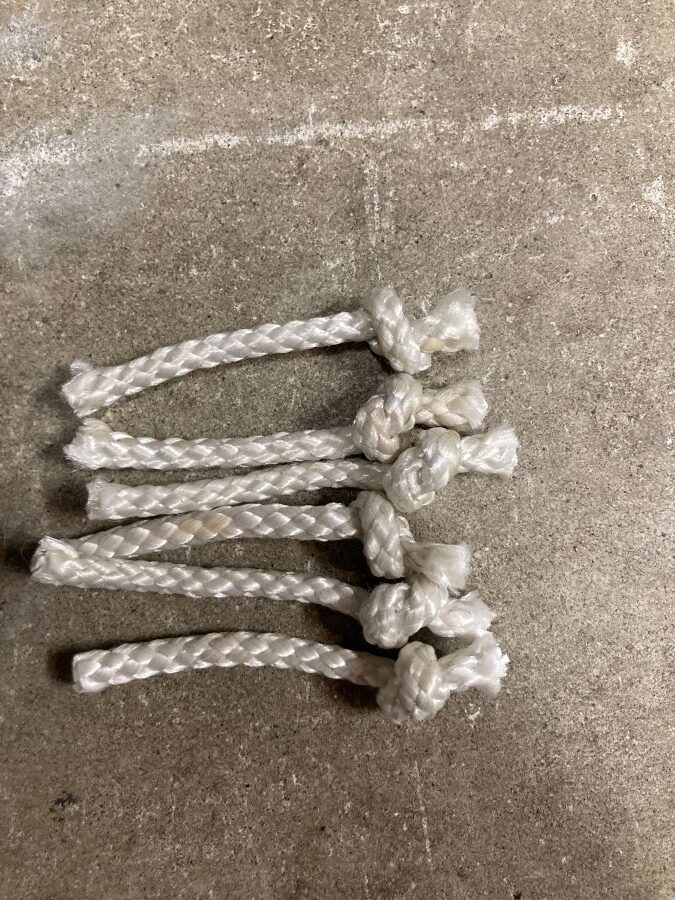
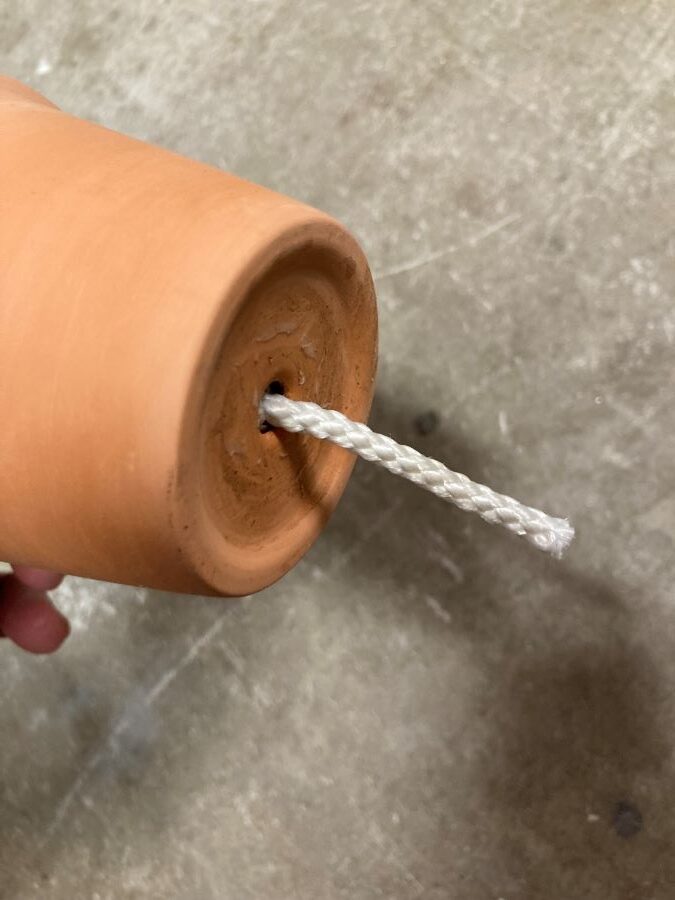
Tie a knot at the end of each rope and feed the other end through the hole in the pot, from the inside and out of the bottom. This rope will wick up the water from the downspout and into the soil that will be in the pot.
9. Filling the pots
Fill each pot with the soil mix mentioned in the materials list, or use a high quality potting soil that does not have many chunks or sticks in it. Larger chunks or sticks can inhibit the wicking ability of the soil.
If you do not have access to quality potting soil then find the best you can and sift it with a garden sifter or pick through it the best you can to get chunks out. Finding a quality soil is much easier though and some nurseries or hardware stores may order some if requested.
10. Plant and water
Plant whatever you like in the wicking pots and place the pots in the downspout. Water just enough so the rope is in the water but not so much the pot is in the water. If the pot is in the water it may lead to over saturated soil, at least at the level of the water. Some plants are ok with wetter soils, and some are not.
Enjoy your wicking planter and watch your plants grow.

